
How to run LTX on a Mac: LTX‑2.5 step by step, M1 to M5
Run LTX-2.5 locally on your Mac with Phosphene. Measured render times for every chip from M1 to M5, what your memory allows, and the steps to a clip with sound.
tutorial · ltx-2.5 · mac · apple-silicon
Give LTX-2.5 a sentence or a picture and it makes a short clip with sound. Ask for footsteps in the rain and it makes those alongside the picture. It can make a voice, too. This open video model from Lightricks runs well on a Mac, too.
We make Phosphene, a free and open-source Mac app that runs LTX-2.5. The render times below are measured.
What your Mac needs
Chip. Any Apple Silicon M1 or newer. Intel Macs are not supported.
Memory. The model needs room to work in unified memory. Check how much you have under Apple menu → About This Mac, on the Memory line.
| Memory | What you can do with LTX-2.5 |
|---|---|
| 16–47 GB | Text to video and picture to video at smaller sizes. Macs with 24 GB or less use a low-memory path automatically. |
| 48–79 GB | Every mode, including Keyframes, Extend and the High quality tier, up to 768 px on the long side for Keyframes and Extend. |
| 80 GB and up | Most modes at full size. From 120 GB, no size limits. |
A standard 1280×704 render peaks at about 22 GB of memory in use. More free memory lets you ask for a larger frame. Every memory size and chip, with disk sizes and render times, is on Will my Mac run it?.
Disk. The base set is about 28 GB: the LTX-2.5 engine, its text encoder and a preview decoder. At 100 Mbps, allow roughly 37 minutes to download it. At 300 Mbps, about 12.
Time. A Mac takes minutes to render a video. There is time to put the kettle on.
How long a clip takes, by chip (M1 to M5)
These are median times for one 5-second clip at Balanced quality and 480p, with sound, from anonymous render counts by Phosphene users between 10 August and 22 October 2026. Model loading is included. Your first clip after opening the app takes longer because the model has to load.
| Chip | Memory | 5-second clip |
|---|---|---|
| M1 | 16 GB | 18 min 30 s |
| M2 | 16 GB | 16 min 40 s |
| M3 | 16 GB | 9 min 30 s |
| M4 | 16 GB | 10 min 40 s |
| M4 | 24 GB | 7 min 50 s |
| M5 | 16 GB | 4 min 55 s |
| M1 Pro | 16 GB | 6 min 40 s |
| M2 Pro | 16 GB | 4 min 30 s |
| M3 Pro | 18 GB | 6 min 30 s |
| M4 Pro | 24 GB | 3 min 50 s |
| M5 Pro | 24 GB | 1 min 20 s |
| M1 Max | 32 GB | 3 min 40 s |
| M2 Max | 32 GB | 3 min |
| M3 Max | 36 GB | 2 min 40 s |
| M4 Max | 36 GB | 2 min 15 s |
| M5 Max | 36 GB | 1 min |
Some rows come from only a handful of Macs, so treat them as a guide. Every chip, size and length is on the render times page. Larger frames and longer clips take more time. Before you press Generate, the app shows an estimate for your Mac next to each length.
A Pro or Max chip matters more than the year. A 16 GB M1 Pro beat a 16 GB M4 by four minutes. Pro and Max chips have more graphics cores and more memory bandwidth, and video models need both.
Memory sets what you can make, not just how fast. A 16 GB M4 and a 24 GB M4 make the same clips. The 24 GB one was about three minutes quicker.
MacBook Air and Mac mini count. They use the base chips, like the M4 above. Ten minutes for a 5-second clip with sound calls for some patience, but it works. On a smaller Mac, start with Quick and 3 seconds to find the shot: that had a median of 6 min 10 s on a 16 GB M4. Then render the keeper at Balanced.
The manual ways
If you want to set LTX up yourself, two routes work on a Mac today:
- The reference Python code on PyTorch. Lightricks publishes the model and code. It runs through PyTorch’s Metal backend on a Mac, though it was written for NVIDIA cards. Expect some patching: Metal doesn’t support the 64-bit floats some calculations ask for, and FP8 checkpoints won’t load at all. You’ll need a recent Python and a development build of the libraries. Budget plenty of memory, too (64 GB is the comfortable starting point).
- A community MLX port. Several open-source LTX ports run from the command line on MLX, Apple’s machine-learning framework. They run faster and use less memory than the PyTorch route. Quantised (4-bit) weights fit a 16 GB Mac. You handle the Python environment and download the models yourself, then set the command-line flags. The clip becomes visible when it’s finished.
Both work if you like setting things up yourself. Phosphene is built on an MLX port (credited on our open source page) and handles that setup for you.
The easy way: Phosphene
1. Check your Mac
Apple menu → About This Mac. M1 or newer and 16 GB or more: you’re set.
2. Download Phosphene
Go to the download page and click Download for Mac. Open the disk image from your Downloads folder and drag Phosphene to Applications. It’s free. The page asks for an email for release news, then starts the download. There’s no account to create. The same disk image is attached to every GitHub release.
3. Download the video models
Open Phosphene from Applications. It lists every model and its size, alongside the disk space needed and available. Nothing downloads until you confirm. The base set is about 28 GB, and a progress bar shows how it’s going.
If the download stops, start it again. Finished files are kept. You can also set up the app now and download the models later if they won’t fit yet.
4. Write a prompt
On the Video tab, keep the model on LTX 2.5 and the mode on Text. Describe the action and where the camera is. Then give the sound a sentence of its own. LTX makes it from the same prompt:
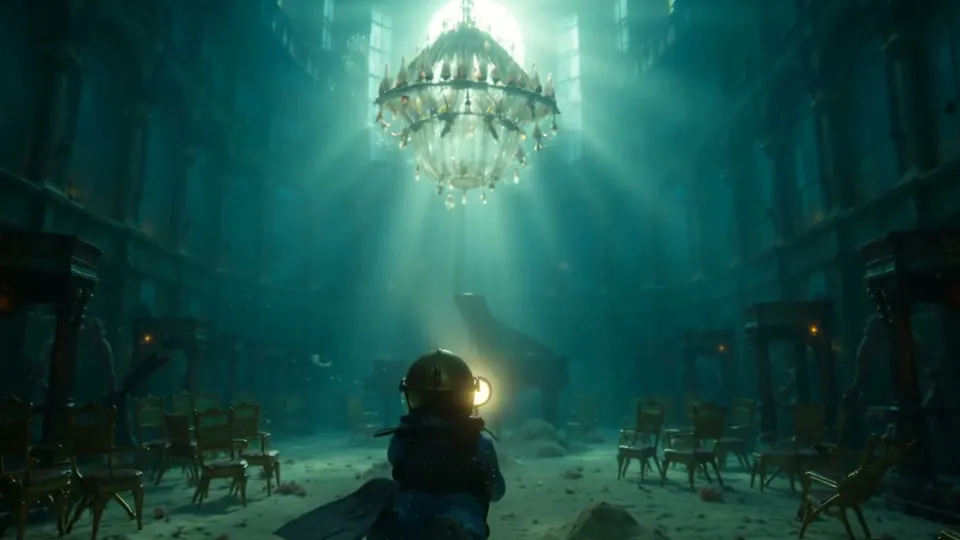
The camera glides slowly forward through the ballroom of a sunken 1920s ocean liner. A diver in a brass helmet sweeps a warm hand lamp over a crooked crystal chandelier and a grand piano half buried in sand. Audio: muffled underwater ambience, slow breathing inside the helmet, rising bubbles, no music.
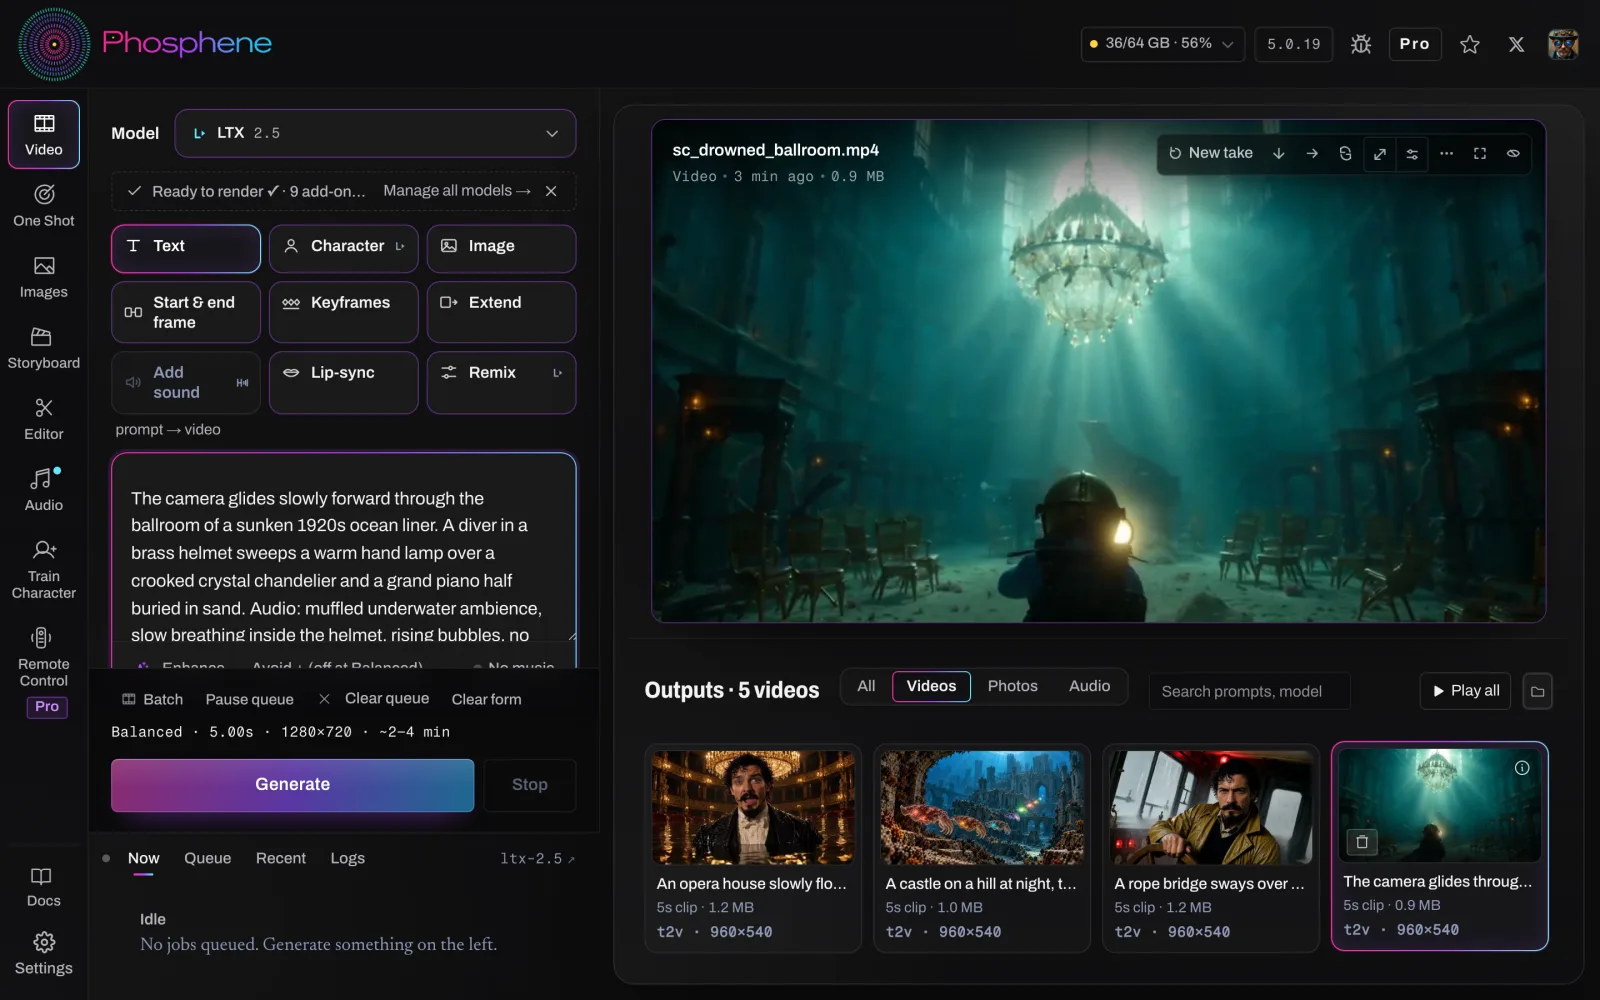
That is a shorter version of the prompt used for this 10-second clip from our gallery. The same prompt made both picture and sound:
5. Pick a quality and length, then Generate
Start with Balanced and 5 seconds. Check the summary under the form for the size and estimated time on your Mac, then click Generate. You can watch the shot take shape in the Now panel. The finished clip lands in Outputs, sound included. Nothing is uploaded.
6. Try a picture instead
Switch the mode to Image, drop in a photo and describe the motion. Choose Anchor to use your picture as the first frame. The clip moves on from there. A phone photo works.
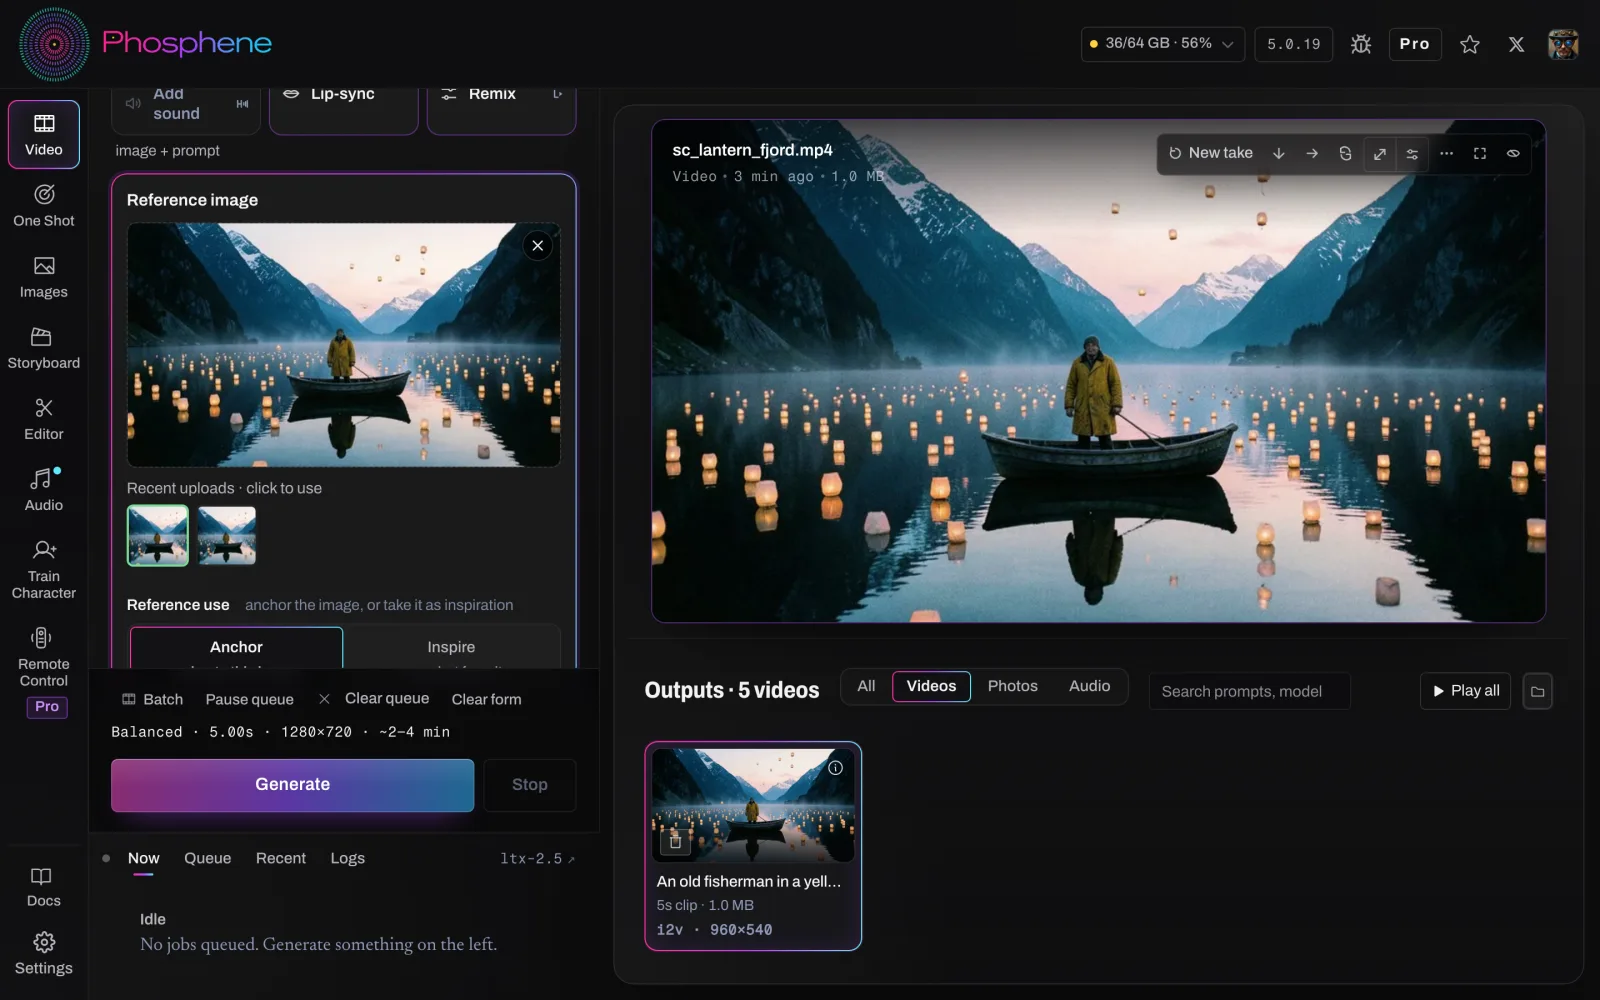
The other modes are a click away. Try Start & end frame or Keyframes, or use Extend to carry on a clip you like. Lip-sync matches an original character to your own audio. Each mode is covered in the Video guide.
Common problems and fixes
The render stops partway with a memory message. Your Mac ran out of memory. Close heavy apps, including that browser full of tabs, chat apps or the iOS Simulator, and try again. A smaller size or shorter length can help, too.
The first clip is much slower than the estimate. The first render after opening the app loads the model into memory. The second one is faster.
The download stalled or the disk filled up. Downloads keep 15 GB of your disk free and pause when space runs low. Free some space and click download again. Finished files are kept.
Some modes are missing. Phosphene hides what your Mac can’t run. Keyframes, Extend and High appear from 48 GB of memory.
The sound is not what you wanted. Be specific about what you want to hear. Add “no music” or “no speech” when you don’t want them.
You searched for LTX-2.3. LTX-2.5 is the newer version of the same family, and it’s what Phosphene uses to make clips. The app downloads LTX-2.3 only when you train your own character.
Supporting the project, with faster renders
Everything above is free. If you’d like to support Phosphene, Pro also speeds up LTX clips on Macs with 32 GB or more. A 5-second clip took 113 seconds instead of 152 on an M4 Max with 64 GB, using the same clip and seed. The speed-up is on by default, with a tick box beside Quality to render the usual way.